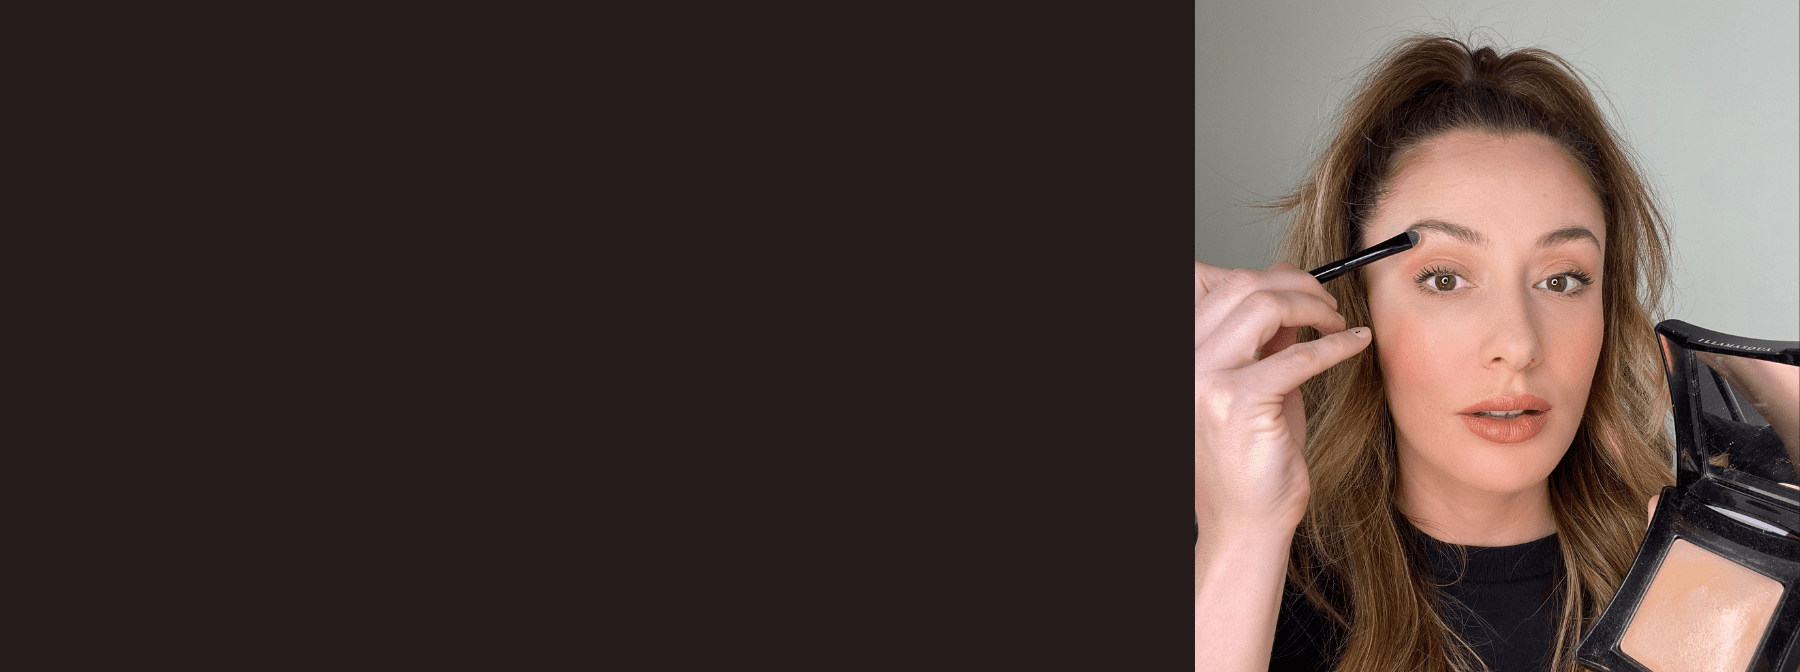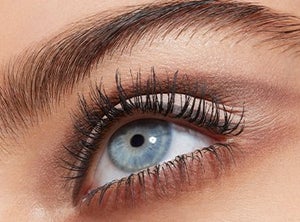
Welcome back to our practice makes perfect series where our Head Makeup Artist Mel Barrese walks us through applying the makeup basics – as life returns to normalcy. This week is all about getting the perfect eyebrows.
There are so many different styles and trends when it comes to eyebrows. From a sculpted brow to fluffy and delicate, it can be challenging to keep up with the eyebrow makeup trends. Lucky for you, following your natural brow shape and this eyebrow makeup tutorial will help enhance, lift and define your overall look.
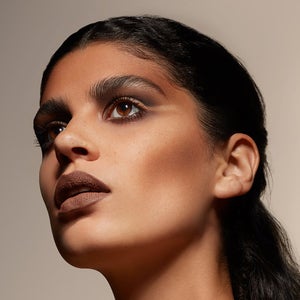
Eyebrows are an essential element to the face and makeup routine. They frame the eyes and structure your look regardless of your makeup style. Plus, brows are very personal because every one of us has our own unique brow shape. Once you understand your shape, you can create the look you want based on your natural arch: whether that is bushy eyebrows or thin and defined, you will learn to build on what you have and discover the eyebrow products for you.
If you’re just getting back in the eyebrow game, we recommend taking the below steps to learn how to get the perfect eyebrows for beginners.
STEP ONE: COMB THROUGH
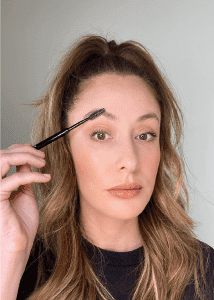
The first thing to do is take our Eyebrow Groomer and comb through the brows. Using upward motions, follow the shape of your eyebrow. Take this as a chance to move the hair in the direction you want.
This allows you to see what you are working with — putting the hairs where they need to go will enable you to map out where you need to apply product.
STEP TWO: FILL-IN
At Illamasqua, we have two different eyebrow products to choose from:
- Eyebrow Cake – A pressed powder in five different shades. Apply lightly to create a natural and diffused look. Completely buildable, this cake can also be used wet to create crisp hair strokes.
- Precision Brow Gel – This product comes in four shades and gives a cleaner and defined shape. This is a more controlled way of creating hair strokes.
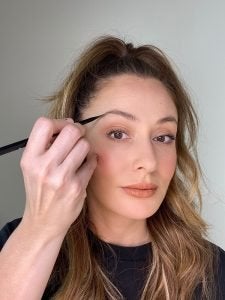
Instead of directly filling in your brows, pair our Precision Brow Gel with our Brow Definer Brush to create tiny brush strokes. Place some of the product on the back of your hand, then flatten the brush to add the product.
Take any excess product off the brush and look at your eyebrows, map out the areas you have gaps in, and begin applying the product in hair-like strokes.
Always start in the middle of the eyebrow and continue down the tail, apply small strokes with a light hand where you need the product to go.
The arch area and tail end of the eyebrow will give you the most lift, so it is important to consider this eyebrows tip when applying your makeup: focus the density of the product on the arch and tail. Using light strokes, build up the color and intensity around the arch area.
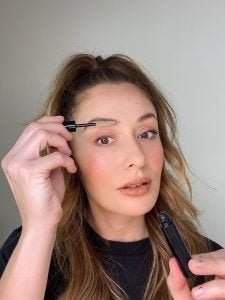
Depending on how sparse your eyebrows are, you can completely leave the inner corner of your eyebrows and not use any product at all – or with a small amount of Precision Brow Gel on our Brow Definer Brush, use light brush strokes again to create subtle brow hairs and fill-in any sparse areas. You can also use your finger to blend.
Take our Brow and Lash Gel and comb in an upwards motion, following the shape of your brows. Using your finger, press down on the product for a laminated look.
STEP THREE: CONCEALER (OPTIONAL)
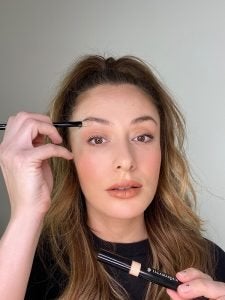
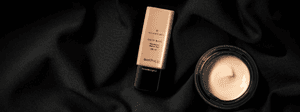
Using our Skin Base Concealer Pen, apply the product to our Flat Concealer Brush. Create a brow contour by applying a crisp, clean line under the eyebrow to lighten and define this area, giving the effect of a natural lift.
STEP FOUR: HIGHLIGHT (OPTIONAL)
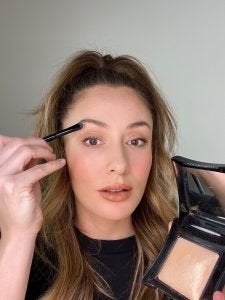
Another eyebrows tip: This is completely optional but can give a major lift to your eyebrows. Simply add a highlighter. Use our Beyond Highlighter on our Brow Shaper Brush and apply to the arch of the eyebrow, then blend it out. The result will be lifted, perfect eyebrows.

